If you're eager to explore the vast world of Dead Rails and push your limits without risking your character's life, you're in good company. Choosing the right class can significantly impact your gameplay, and that's where my ultimate Dead Rails class tier list comes in handy. I've done the legwork to save you from endless trial-and-error, so let's dive in and see how you can optimize your experience.
Recommended Videos Table of contents
- All Dead Rails Class Tier List
- S Tier Dead Rails Classes
- A Tier Dead Rails Classes
- B Tier Dead Rails Classes
- C Tier Dead Rails Classes
- D Tier Dead Rails Classes
All Dead Rails Class Tier List
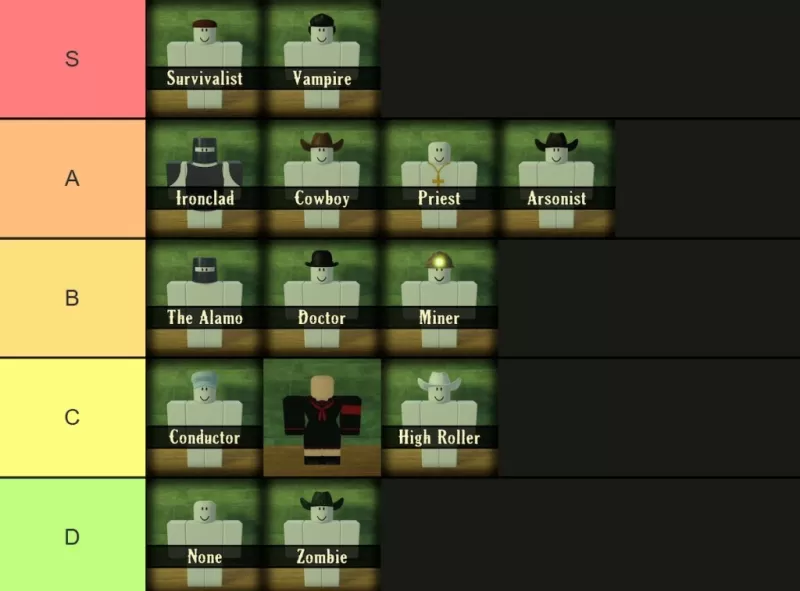
I'm aware that my Dead Rails class tier list might stir some debate, but it's grounded in extensive gameplay analysis. The Vampire remains a top choice, even post-updates, while the Survivalist has surged in popularity recently. However, the Zombie class still disappoints, particularly with its inability to use Snake Oil. Teamwork plays a role too, but let's focus primarily on individual class strengths. Remember, the goal is to enjoy the game with friends, not just to min-max.
S Tier Dead Rails Classes
You've probably guessed it—the S Tier is all about raw damage output. The Survivalist and Vampire are the clear frontrunners here, though the Ironclad class has its merits. Here's a closer look at the top contenders:
| **Name** | **Cost** | **Info** |
| Survivalist | 75 | The Survivalist starts with a Tomahawk and becomes increasingly lethal as your health drops. Even at full health, you deal more damage than others, though a nerf might be on the horizon. It's particularly effective against tough enemies that don't go down easily. |
| Vampire | 75 | The Vampire excels in speed and aggression. You're faster than a horse or a sprinting zombie, and your melee attacks are devastating. The downside is vulnerability to sunlight, but you start with a Vampire Knife that heals with each hit, making survival about maintaining the offensive. |
A Tier Dead Rails Classes
A Tier classes are excellent but slightly less effective for solo survival compared to S Tier. They offer strong damage and starting gear, though they shine more in team settings. Ironclad stands out as having the most potential.
| **Name** | **Cost** | **Info** |
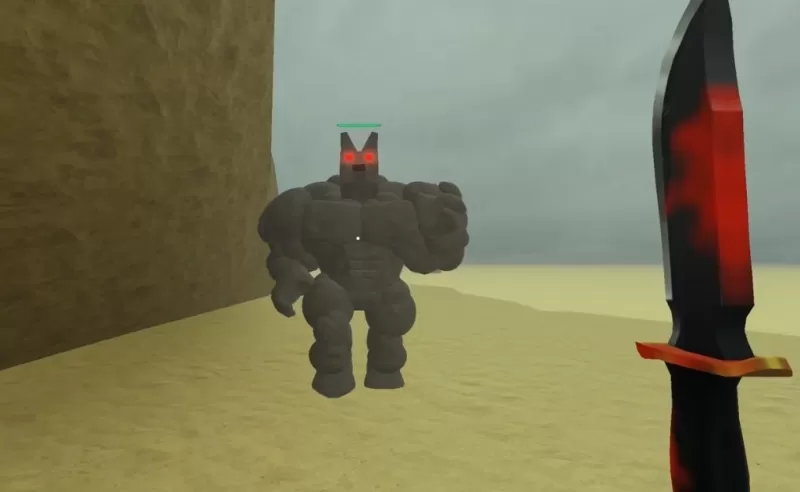
| Ironclad | 100 | The Ironclad comes equipped with full armor, making you much harder to kill but slightly slower. It's not ideal for solo runs but perfect for team play, especially with shotguns in close-quarters combat. |
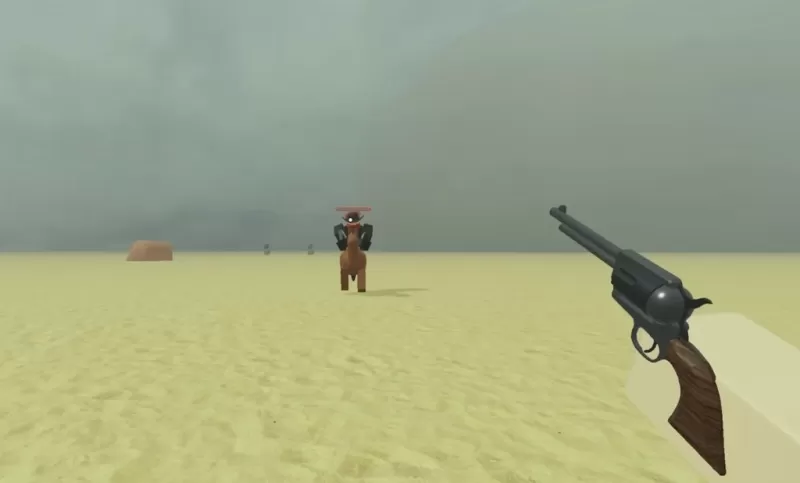
| Cowboy | 50 | The Cowboy starts with a revolver, ammo, and a horse, making early-game fights easier and providing speed for survival. With the Game Pass, you can sell the revolver for an early cash boost. |
| Priest | 75 | The Priest uses Crucifixes and Holy Water, immune to lightning and effective in team settings. Their throwables can significantly impact group dynamics. |
| Arsonist | 20 | The Arsonist excels in chaotic environments, starting with Molotovs and a fire damage boost. Ideal for clearing groups and effective with a hit-and-run strategy on horseback. |
B Tier Dead Rails Classes
B Tier classes are specialists, excelling in specific scenarios. They're invaluable in group settings but may not be as effective for solo damage output.
| **Name** | **Cost** | **Info** |
| The Alamo | 50 | The Alamo is designed for defense, starting with materials to fortify positions. It's effective for holding the line and protecting the team. |
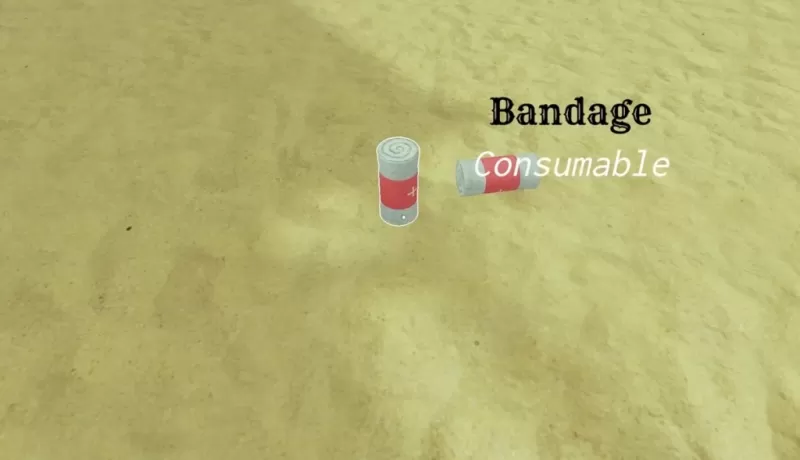
| Doctor | 15 | The Doctor provides healing and revival capabilities, crucial in group play. Selling bandages and snake oil can give you an early cash boost. |
| Miner | 15 | The Miner is perfect for resource gathering and nighttime exploration, equipped with a helmet and Pickaxe for efficient material collection. |
C Tier Dead Rails Classes
C Tier classes offer good utility but have limited solo value. The Conductor is essential for team mobility, while the Horse class is more of a novelty.
| **Name** | **Cost** | **Info** |
| Conductor | 50 | The Conductor manages train speed, starting with Coal but no melee weapon. They're crucial for team mobility and should be protected. |
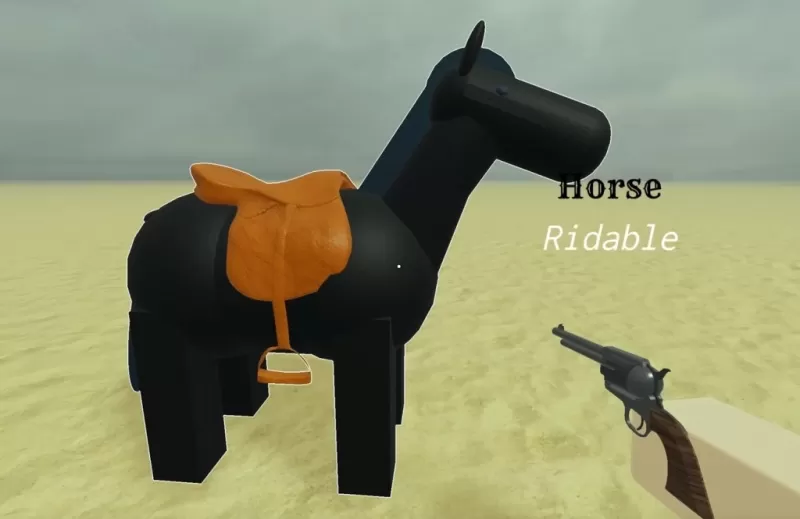
| Horse | Unlockable through the Horsing Around gamemode | The Horse Class turns you into a horse, with standard horse stats. It's a fun novelty but challenging in tight spaces. |
| High Roller | 50 | The High Roller earns 1.5x money from bags, ideal for early cash accumulation but vulnerable to lightning during storms. |
D Tier Dead Rails Classes
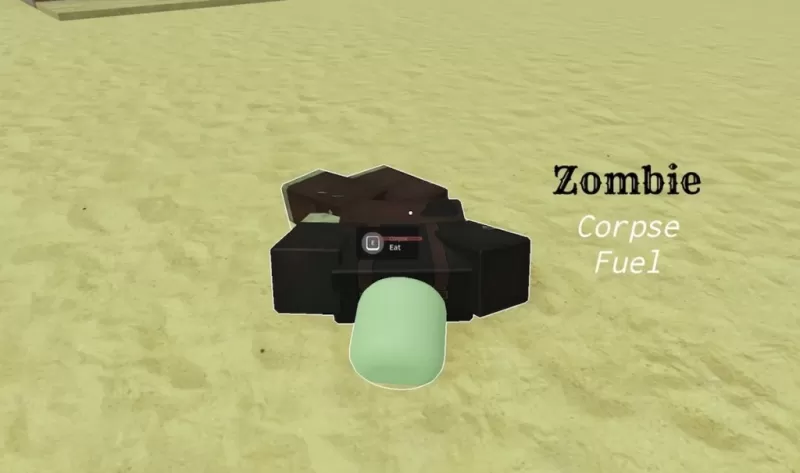
D Tier classes are the least effective. The None class is a good starting point for beginners, while the Zombie class remains underpowered.
| **Name** | **Cost** | **Info** |
| None | Free | The None class is the default, offering no perks or drawbacks. It's ideal for beginners to learn the game and save up bonds. |
| Zombie | 75 | The Zombie can heal by feeding on corpses and has stealth capabilities but lacks access to Bandages or Snake Oil, making it less viable. |
That's all for now! I hope this Dead Rails class tier list helps you break records and tackle mobs with ease. Don't forget to use Dead Rails codes and explore Dead Rails challenges for an even better experience. Stay tuned for what the next update might bring!
 Latest Downloads
 Downlaod


 Top News